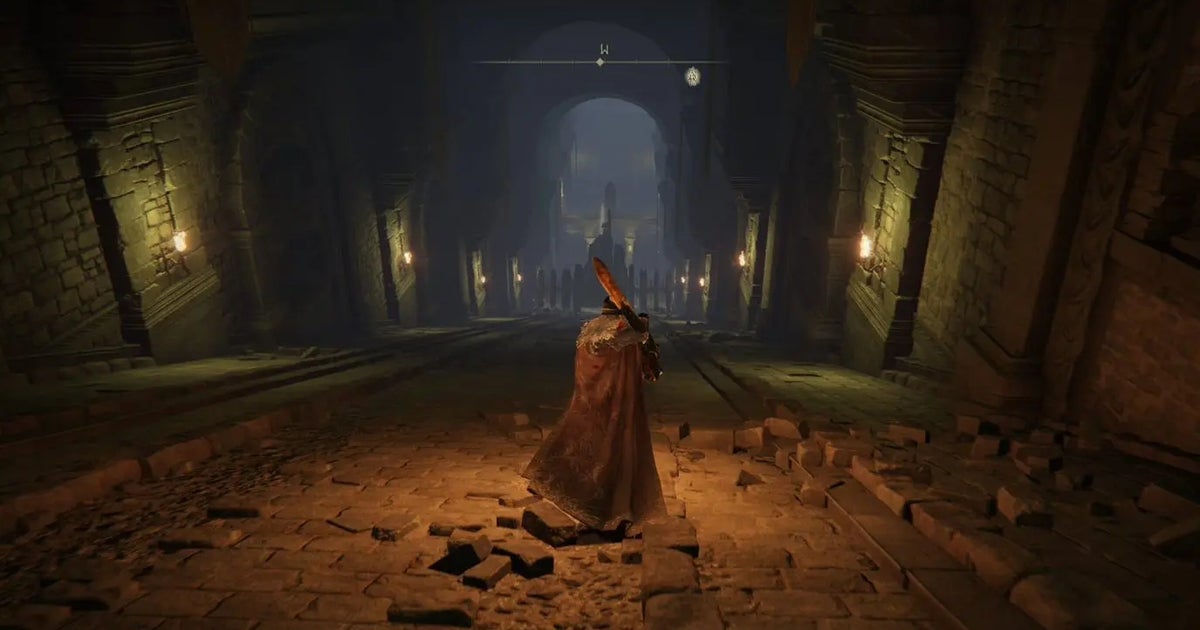
The Auriza Hero’s Grave in Elden Ring is a location in the eastern region of the Altus Plateau.
The dungeon lies within Leyndell’s Captital Outskirts and can only be reached via a specific route. There are some important treasures to find here, too, so to make sure you’re armed with the necessary knowledge to find and complete this dungeon, read on for our step-by-step walkthrough on how to beat Auriza Hero’s Grave.
On this page:
Auriza Hero’s Grave walkthrough
Dropping from the location of where you fought the Draconic Tree Sentinal fight won’t work here. Instead, you’ll need to take the following route to get to Auriza Hero’s Grave, starting at the Site of Grace ‘Outer Wall Battleground‘ to reach the tomb:

There are two bears hanging around in front of the entrance. Open the door to the grave, take the lift down, activate the Site of Grace ‘Auriza Hero’s Grave‘ and in the first room there is an opportunity to use a Stonesword Key.
If you sacrifice one of these keys, you will receive the Golden Epitaph Straight Sword as a reward, but you’ll need to eliminate the basilisk frogs first before you can claim it.
Then follow the only remaining path to a slope, at the end of which a chariot spawns.

How to get past the first Chariot
The chariot will start racing towards you. To avoid getting hit by it, you can either:
- Stay back and wait briefly until it has reached the top and turned round, then sprint down behind it.
- Run straight down the first time. The chariot will only appear after you have covered a few metres. Watch out for the light seal on the ground.
When the chariot is upon you, take cover in the alcove on the right of the slope (where two skeletons spawn) and wait until it has passed you on its way back up. Then you can go down and take a short breather between the two pillars:

Caution: you really have to stand right between the pillars with the blood splatters, otherwise the chariots will catch you with their spikes on the sides when you turn round.
The corpse on the ledge holds 5x Fan Dagger for us and at this point the path forks. You can either continue straight up the slope, or drop down one level at the corpse.
How to get past the pair of Chariots

If you drop down by the corpse behind the first chariot (see right), you will end up in a room with 1x Grave Glovewort (6). Be careful, as this area is full of basilisks that crawl out of the ground and spray their Death Blight at you very quickly.
Collect 1x Ghost Glovewort (5) in the next room and follow the corridor northwards, where another basilisk attacks from the right.
Take 1x Grave Glovewort (5) and you will come out at the final slope of this section. This path is essentially a shortcut without having to run past the chariots every time.
However, if you choose to continue straight up the slope to the west, you’ll need to run as soon as the second chariot rolls up and take cover in the alcove on the right. The whole thing is a little tight, so you may need several attempts.

Continue along the slope to the north, where two chariots are now active next to each other. Run down and change lanes halfway down.

After a few metres you will discover an alcove right in the middle where you are safe. You will find 1x Ghost Glovewort (6) next to a skeleton and 1x Stonesword Key by the corpse on the ledge. Continue down the path and take the opportunity to collect 1x Grave Glovewort (6).
At the bottom of the slope, stand right between the pillars again, otherwise the chariot coming from the north will catch you when you turn round. The corpse on the left will give you 1x Golden Rune (7).
As soon as you have a clear path, run up the slope to the north and take cover in the alcove on the right to let the chariot pass. The massive door can be opened with your bare hands.

Follow the steps down and kill the skeletons on the way. You can face the bosses behind the wall of fog (yes, plural…). But first we’ll finish exploring the cave.
Exploring Auriza Hero’s Grave hidden areas
There is another path that is not immediately obvious. At the last chariot before the boss, you can drop onto a wooden beam underneath at the height of the corpse with the Golden Rune.

The corpse on the sloping beam provides us with Holy Grease. Follow the course of the beam next to it towards this spot:

Kill the basilisk in the rooms behind it and you will find 1x Grave Glovewort (5) as well as a corpse with the Vulgar Militia Ashes.

The adjacent ladder takes you back to the familiar area with the chariots. But there’s more down here.
Go back to the wooden beams you dropped onto. Below, you will see stone arches and, to the south, another area that can be explored.

Be careful with the lone skeleton so that it doesn’t push you into the abyss. After the ladder, you will reach another slope with a chariot on it.
Wait until the chariot goes down and run up. In the chamber with the flamethrower there is 1x Grave Glovewort (6).

You can hit the pillar and make it move upwards, which has the effect of spitting the flames into the passage with the chariot.
Run down towards the south and take cover briefly in the alcove on the left until the carriage moves up again. Sprint down and left into the passage with the two skeletons.

Destroy the Chariots
Behind those skeletons, go straight ahead into a room with a large enemy guarding the Crucible Feather Talisman.
On the left is a lift that goes up a few floors. We end up in a room with a fire-breathing pillar. Hit it to redirect the fire to the lift you came from.

At the end of the corridor you can now loot 1x Grave Glovewort (6) and 3x Great Dragonfly Head.
Then go to the pillar again and hit it so that the light falls into the room with the chariots. Run to the end of the corridor where the items were just lying.

If you have done everything right, the chariots will crash into each other and be destroyed. This gives us a lot of items: the Ash of War: Holy Ground and the Tree Sentinal Set. The grave is now fully explored and we can take on the boss Crucible Knight Ordovis, which features a fight against two, yes two, Crucible Knights.


